I found a piece of wood in the shed that was roughly 14" x 5". I sanded the edges and applied a single coat of stain to the side with the most interesting grain.
 |
| After stain |
 |
| Before stain |
I had saved the knobs that came with my armoire before I refinished it, so repurposed 3 of them as "hooks" for this project. I spray painted the knobs using an oil-rubbed bronze color left over from painting planters. This gave them a subtle bit of shine.


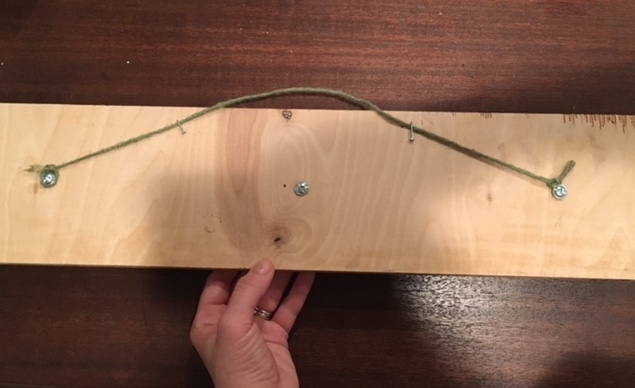
 On the back side (unstained side) of the wood I marked where the knobs should go then drilled the holes for the screws. When pre-drilling a screw hole, remember to choose a drill bit that the same size or slightly smaller than the screw itself so the threads can grip the wood rather than rattle around inside a too-large hole. Also, the old adage of "measure twice, cut once" applies here as well.
I now had the basics complete: a piece of wood with 3 "hooks." The next step was to spruce it up a bit. If you recall, my office on campus is a peculiar combination of dried blood-colored walls and teal trim. I needed a to design a hook that was neutral in palette but still visually interesting. I also wanted a texture that contrasted with the wood but still felt organic. I had some craft paper on hand so I played around with color and pattern combinations.
 |
| Mondo Guerra: pattern guru |

Then I spilled a glass of red wine on it. Herein I discovered that craft paper is not wine resistant. Happily, I had extra paper but there's a life lesson here: when crafting, go stemless.

With the knobs screwed in over the (new) paper background, I was pretty pleased with the overall effect. Plus, I had now tripled my "storage" space. The fact the wood was faintly scented with pinot noir was an added bonus.
And there you have it! A homemade hanger that has my office ready for the demands of winter apparel. A few scrap materials, a little ingenuity, a little wine, and a little time. That's how I do nesting.

No comments:
Post a Comment